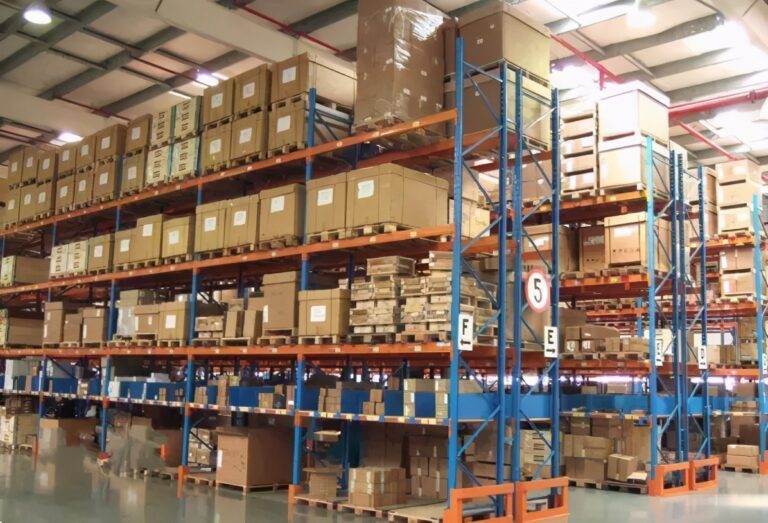
Back-in-stock notifications are a highly effective way to retain customers on e-commerce sites. In this guide, I will show you how to add a “Notify me when available” form to WooCommerce product pages. This allows you to collect customer email addresses and automatically send notifications when out-of-stock products return to inventory.
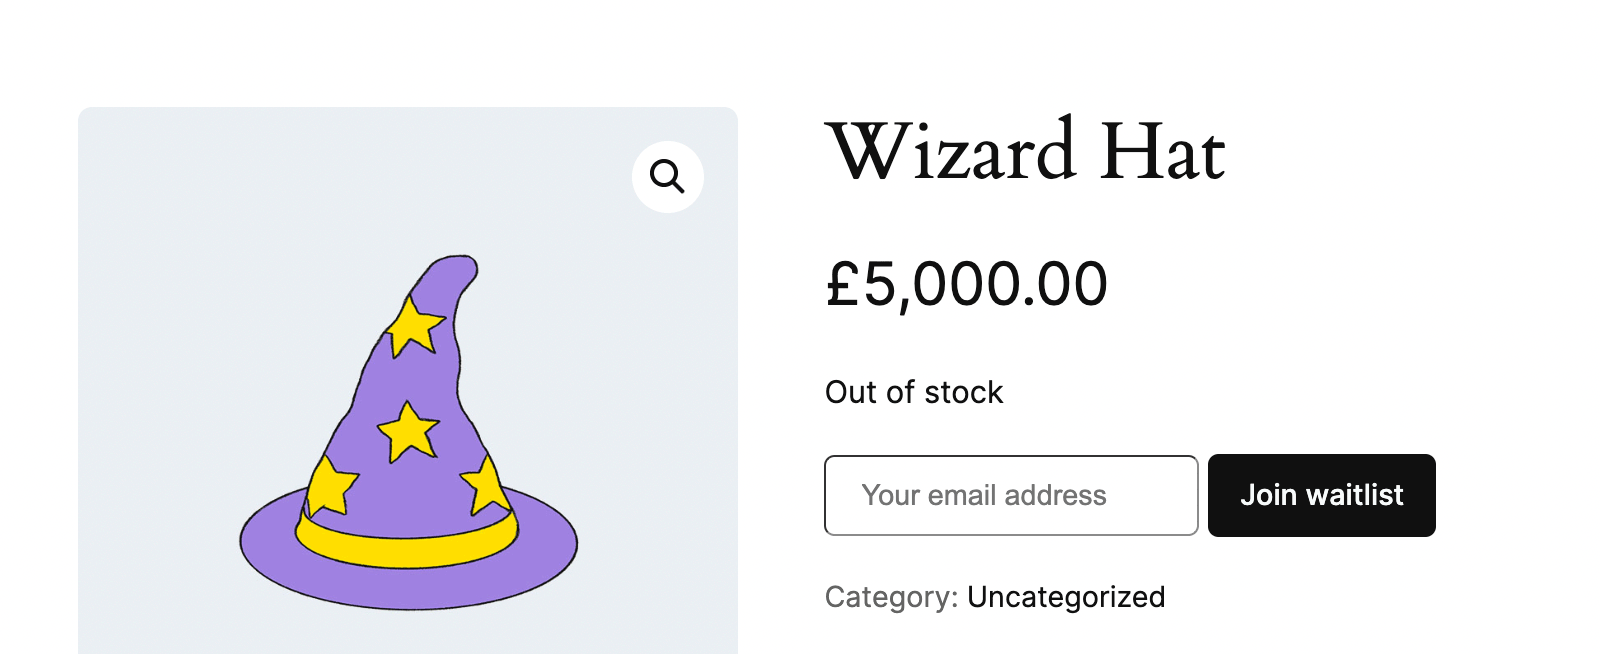
Here is an example of the functionality we will implement:
The “Notify Me When Out of Stock” Form
First, let’s add the subscription form to the product page.
We only need to display the form for products or variations that have an “Out of Stock” (outofstock) or “On Backorder” (onbackorder) status—whichever suits your inventory strategy.
Difference Between “Out of Stock” and “On Backorder”
Let me clarify the difference between these two inventory statuses:
- “Out of Stock” (
outofstock): Customers cannot purchase the product at all, but they can use our subscription form. - “On Backorder” (
onbackorder): Customers can still purchase the product, but it will not ship immediately (a standard pre-order function). If a customer prefers not to pay for an unstocked item now, they can use the notification form instead.
In this tutorial, we will focus on the “Out of Stock” status.
Displaying the Form
Now that we understand the statuses, our goal is to display the “Notify me when available” form immediately after the “Out of stock” text on the product page. To achieve this, we need to choose the correct WooCommerce hook.
There are many hooks available on the WooCommerce single product page. Choosing the right one can be tricky because some hooks don’t fire when a product is out of stock. For instance, woocommerce_after_add_to_cart_button will never fire if the “Add to Cart” button is removed due to lack of stock.
In this example, I’ve chosen to use woocommerce_product_meta_start.
<?php
add_action( 'woocommerce_product_meta_start', 'wprs_notify_when_back_in_stock_form' );

function wprs_notify_when_back_in_stock_form() {
	global $product;
	// No need to show the form for items currently in stock
	if( $product->is_in_stock() ) {
		return;
	}
	?>
		<form id="back-in-stock-notification" data-product_id="<?php echo $product->get_id() ?>">
			<input type="email" name="email" class="input-text" placeholder="Your email address" />
			<button class="wp-element-button">Join waitlist</button>
		</form>
	<?php
}
In this snippet, I use $product->is_in_stock(). Alternatively, you could use $product->get_stock_status() to check explicitly for outofstock, but the result is the same. The main difference is that is_in_stock() triggers the woocommerce_product_is_in_stock filter hook.
I also passed the Product ID as a data attribute in the form HTML for easy retrieval via JavaScript.
The form works, but to make it more user-friendly, we can modify the availability text to explain the subscription clearly. Let’s do that in the next section.
Customizing the “Out of Stock” Availability Text
Providing clear instructions makes customers more likely to subscribe. We can append our call-to-action directly to the stock status message.
add_filter( 'woocommerce_get_availability_text', 'wprs_out_of_stock_text', 25, 2 );

function wprs_out_of_stock_text( $text, $product ) {

	if( is_product() && ! $product->is_in_stock() ) {
		$text = 'Currently out of stock – Join the waitlist to receive an email notification when it returns';
	}
	return $text;

}
I’ve added the is_product() check to ensure this detailed text only appears on the single product page and not in product loops or shop archives where space might be limited.

Processing the Form via AJAX
We will use jQuery for two reasons: WooCommerce still includes it by default on the frontend, and it makes the tutorial easier to follow for developers who are more comfortable with jQuery syntax.
jQuery( function( $ ) {
	$( '#back-in-stock-notification' ).submit( function() {

		const emailField = $(this).find( 'input[type="email"]' )
		const submitButton = $(this).find( 'button' )
		const productId = $(this).data( 'product_id' )

		$.ajax( {
			url : woocommerce_params.ajax_url,
			type : 'POST',
			data : {
				email : emailField.val(),
				product_id : productId,
				action : 'back_in_stock_notification',
			},
			beforeSend : function( xhr ) {
				submitButton.text( 'One moment...' )
				$( '.woocommerce-notices-wrapper' ).find( '#my-notice' ).remove()
			},
			success : function( response ) {
				submitButton.text( 'Join waitlist' )
				if( response.success ) {
					emailField.val( '' )
					$( '.woocommerce-notices-wrapper' ).append( '<div id="my-notice" class="wc-block-components-notice-banner is-success" role="alert"><div class="wc-block-components-notice-banner__content">' + response.data + '</div></div>' )
				}
			}

		} )
		return false
	} )
} )
Now we handle the backend AJAX logic using wp_ajax_ and wp_ajax_nopriv_ hooks.
add_action( 'wp_ajax_back_in_stock_notification', 'wprs_create_notification' );
add_action( 'wp_ajax_nopriv_back_in_stock_notification', 'wprs_create_notification' );

function wprs_create_notification() {
	// Process the email and store it in the database
	$success_notice_text = 'You will be notified!';
	wp_send_json_success( $success_notice_text );
}
Storing Email Addresses in the Database
There are three common ways to store this subscription data:
| Method | Description |
|---|---|
| Product Metadata | The simplest method. Good for smaller stores, but harder to manage globally. |
| Custom Database Table | The best method for scalability. More complex to build (requires custom UI), but handles large volumes of notifications efficiently. |
| Custom Post Type | Avoid this. Storing simple email-product pairs as full posts is inefficient and bloats the wp_posts table. |
For this guide, we will use the first method (Product Metadata) for simplicity.
First, let’s create a custom field in the product inventory tab to manage the waitlist:

add_action( 'woocommerce_product_options_stock_status', function() {

	$list = ( $list = get_post_meta( get_the_ID(), 'email_list', true ) ) ? $list : array();

	echo '<div class="option_group">';
	woocommerce_wp_textarea_input(
		array(
			'id'      => 'email_list',
			'value'   => join( "
", $list ),
			'label'   => 'Waitlist',
			'description' => 'Emails subscribed for back-in-stock notifications',
			'desc_tip' => true,
		)
	);
	echo '</div>';
} );

add_action( 'woocommerce_process_product_meta', function( $product_id ) {
	$list = isset( $_POST[ 'email_list' ] ) ? explode( "
", $_POST[ 'email_list' ] ) : array();
	update_post_meta( $product_id, 'email_list', $list );
} );
Now, update the AJAX handler to save the email:
function wprs_create_notification() {
	$product_id = absint( $_POST[ 'product_id' ] );
	$product = wc_get_product( $product_id );

	if( ! $product || $product->is_in_stock() ) {
		wp_send_json_error();
	}

	$email = sanitize_email( $_POST[ 'email' ] );
	if( ! is_email( $email ) ) {
		wp_send_json_error();
	}

	$list = (array) $product->get_meta( 'email_list' );
	if( ! in_array( $email, $list ) ) {
		$list[] = $email;
		$product->update_meta_data( 'email_list', $list );
		$product->save();
	}

	wp_send_json_success( 'You will be notified!' );
}
Sending the Notifications
We need a hook that triggers when stock status changes. There are two relevant hooks:
woocommerce_product_set_stock_status: Fires only when the status itself changes (e.g., from ‘outofstock’ to ‘instock’).woocommerce_product_set_stock: Fires whenever the stock quantity is updated.
We will use woocommerce_product_set_stock_status:
add_action( 'woocommerce_product_set_stock_status', 'wprs_back_in_stock', 25, 3 );

function wprs_back_in_stock( $product_id, $stock_status, $product ) {
	if( 'instock' === $stock_status ) {
		$emails = $product->get_meta( 'email_list' );
		if( $emails ) {
			wp_mail(
				$emails,
				'Good news: ' . $product->get_name() . ' is back in stock!',
				sprintf(
					'The product you were waiting for, %s, is now available! Get yours here: %s',
					$product->get_name(),
					$product->get_permalink()
				)
			);
			$product->delete_meta_data( 'email_list' );
			$product->save();
		}
	}
}
Important Considerations
While the logic above is sound for basic needs, consider these upgrades for production environments:
- Spam Protection: Add a honey-pot field or reCAPTCHA to prevent bot signups.
- Email Delivery: For a large waitlist, use
Action Scheduleror a background cron job to send emails in batches rather than all at once (which might cause server timeouts or email provider blocks). - Database Schema: As mentioned, a custom table is much better for high-traffic stores.
Implementing back-in-stock notifications is a proven way to improve conversions. Using the hooks and methods described above, you can build a lightweight, efficient system tailored to your specific store requirements.