Install LNMP on the Linux server
There is not much to explain in this step. The official site at lnmp.org provides one-click installation scripts for various Linux distributions. Just follow the official instructions and install it. In most cases, it succeeds on the first try.
Create the virtual host
1. After logging in, enter ./vhost.sh and press Enter.
Prompt: Please input domain (enter the domain name):
Enter the domain you want to bind, usually the root domain without www, for example wpzhiku.com, then press Enter.
Prompt: Do you want to add more domain name? (y/n)
Enter y and press Enter.
Prompt: Please input the directory for the domain: wpzhiku.com
Enter the secondary domain, which is usually www.wpzhiku.com, then press Enter.
Prompt: Please input the directory for the domain: wpzhiku.com
Do not enter anything. Just press Enter.
Prompt: Allow Rewrite rule? (y/n) (it is best to enable this because WordPress pretty permalinks require rewrite support)
Enter y and press Enter.
Prompt: Please input the rewrite of programme: (LNMP includes many built-in rewrite rules)
Enter wordpress and press Enter.
Prompt: Allow access_log? (y/n)
Enter y and press Enter.
Prompt: Type access_log name (Default access log file: wpzhiku.com.log):
Do not enter anything. Just press Enter.
Prompt: Press any key to start create virtul host…
Press any key to start creating the virtual host.
Prompt:
Your domain: wpzhiku.com
Directory of wpzhiku.com: /home/wwwroot/wpzhiku.com
If you see the prompt above, it means the virtual host has been created successfully.
Create the database
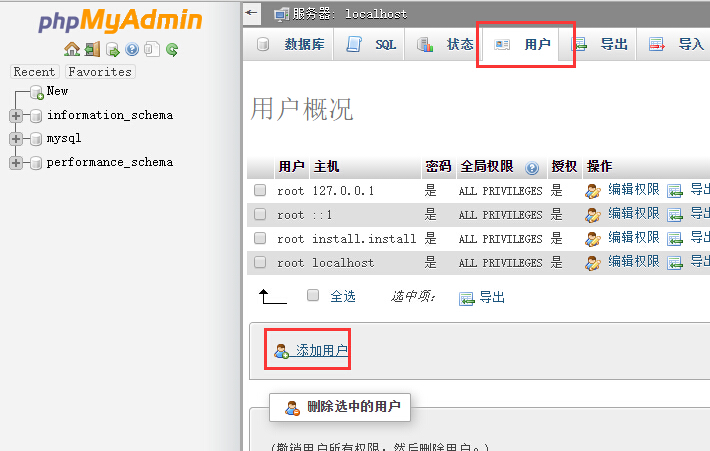
Open the database administration URL: http://your-server-ip/tools/phpmyadmin/
- Username:
root - Password: the database password you set when LNMP was installed
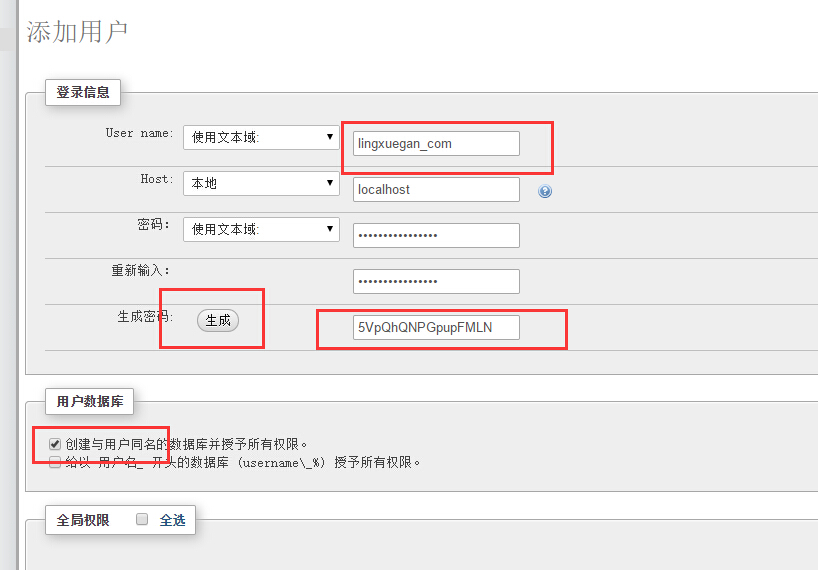
After logging in, click “Users > Add user”.
Then:
- Enter the username, which will also be the database username.
- For host, usually choose
localhost. - For the password, just click Generate Password to create a random password.
- For the user database option, check “Create database with same name and grant all privileges”. The username will also become the database name.
- Then click Execute in the lower right corner. If nothing unexpected happens, the database will be created successfully.