Most premium WooCommerce themes include AJAX functionality for adding products to the cart directly from product lists. This is a common and effective way to improve user experience. In this guide, I will show you how to implement this feature using native WooCommerce hooks and minimal code.
The following GIF demonstrates the end result:
Creating AJAX Buttons Without Custom JavaScript
Thanks to the built-in add-to-cart.js file in WooCommerce, we can create AJAX-enabled buttons without writing any custom JavaScript. All you need is the correct HTML structure and classes.

add_action( 'woocommerce_after_shop_loop_item', function() {

	$product_id = get_the_ID();
	echo '<a href="?add-to-cart=' . $product_id . '&quantity=10" data-quantity="10" data-product_id="' . $product_id . '" class="button add_to_cart_button ajax_add_to_cart">Add 10 to cart</a>';

}, 99 );
Requirements for the button to work:
- Data Attribute: You must provide the product ID in
data-product_id. - CSS Classes: The button must include both
add_to_cart_buttonandajax_add_to_cartclasses.
Additionally:
- You can specify the amount in the
data-quantityattribute. - The
hrefattribute is only necessary for fallback if the user has JavaScript disabled in their browser.
Selecting Quantity Before Adding to Cart
A better approach often involves letting the user choose the quantity. We can use the native woocommerce_quantity_input() function and a tiny snippet of JavaScript to sync the input value with the button’s data attribute.
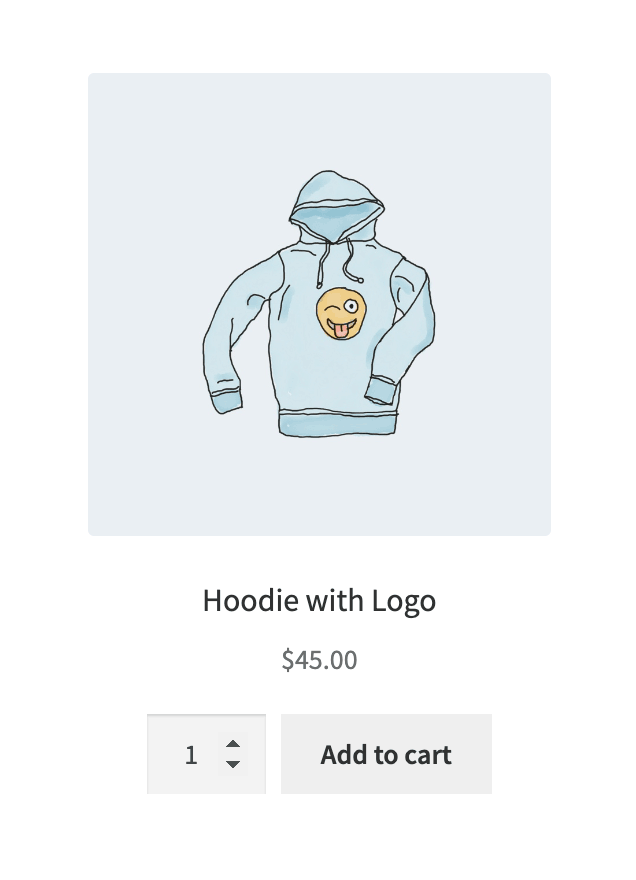
Display the quantity input using this hook:
add_action( 'woocommerce_after_shop_loop_item', function() {

	global $product;

	// Only show for simple products; variable products require more complex handling
	if( ! $product->is_type( 'simple' ) ) {
		return;
	}

	woocommerce_quantity_input();

} );
Then, use this JavaScript to update the button attribute whenever the quantity changes:
jQuery( function( $ ) {
	$( 'li.product .qty' ).on( 'change', function() {
		const qty = $(this).val();
		$(this).parent().next( '.add_to_cart_button' ).attr( 'data-quantity', qty );
	} );
} );
Handling Product Variations
Adding variations follows the same logic, but you must provide the Variation ID instead of the parent Product ID. While dynamic lists require more setup (covered in another tutorial), here is a static example of how the AJAX button handles variations:
add_action( 'woocommerce_after_shop_loop_item', function() {

	$variation_id = 12345; // Replace with an actual variation ID

	echo ' <a href="?add-to-cart=' . $variation_id . '" data-product_id="' . $variation_id . '" class="button add_to_cart_button ajax_add_to_cart">Add Blue Hoodie</a>';

}, 30 );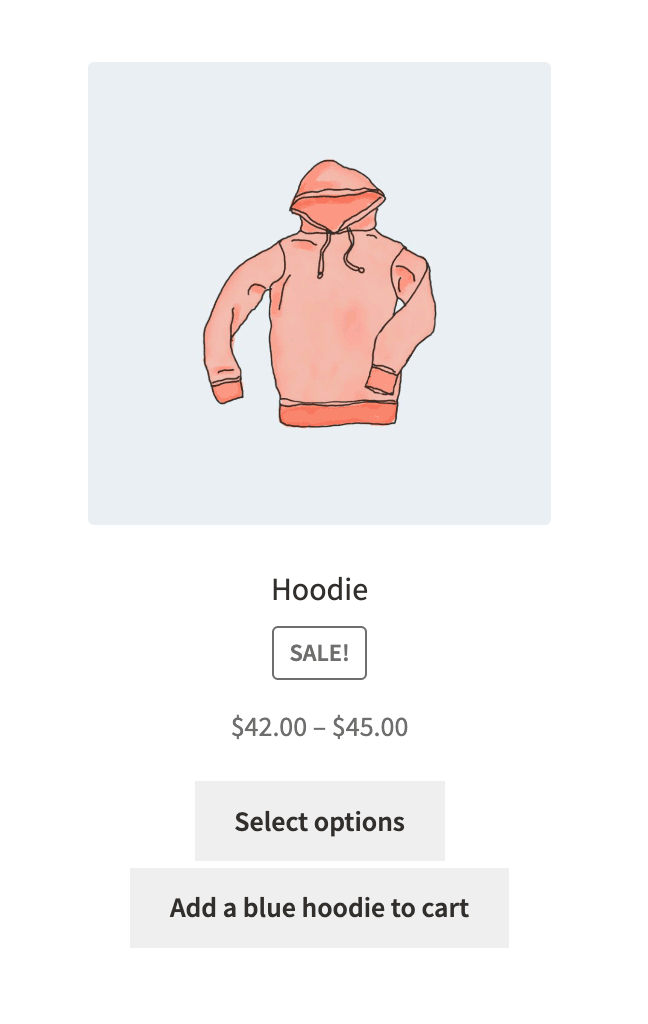
Custom AJAX Add-to-Cart via JavaScript
If the default classes aren’t sufficient for your design, you can manual trigger the AJAX call using jQuery. This is useful for custom UI elements that aren’t standard buttons.
jQuery( function( $ ) {
	$( '#custom-add-to-cart' ).click( function( event ) {

		event.preventDefault();

		const data = {
			product_id: 101,
			quantity: 1,
		}

		$.ajax( {
			type: 'POST',
			url: wc_add_to_cart_params.wc_ajax_url.toString().replace( '%%endpoint%%', 'add_to_cart' ),
			data: data,
			dataType: 'json',
			success: function( res ) {
				// Trigger the 'added_to_cart' event to update mini-carts and fragments
				$( document.body ).trigger( 'added_to_cart', [ res.fragments, res.cart_hash ] );
			},
		});

	} );
} );
By leveraging WooCommerce’s native AJAX parameters, you can build a fast, responsive shopping experience that keeps users on the archive page, ultimately increasing conversion rates.