
Google’s two-step verification is a major advancement in the field of web security. Most of Google’s products, including Dropbox, including domestic Dnspod, use Google Authenticator to enhance security. If your site is based on WordPress, you can achieve this function through the Google Authenticator software. First, you need to install the Google Authenticator App on your smartphone. Currently, the Google Authenticator App supports Android 2.1+, iOS 5.0+, and BlackBerry 4.5-7.0.
Install the Google Authenticator plugin
1. First, make sure there is NTP service on the server and the time is correct. 2. Search, install, and activate the plug-in. Needless to say. 3. Go to the backend > Users > My Profile interface. If you can see Google Authenticator Settings, it means the installation has been successful.
Configure the Google Authenticator plugin
1. Check Active to enable the plug-in and click the “Create new secret” button to generate a key.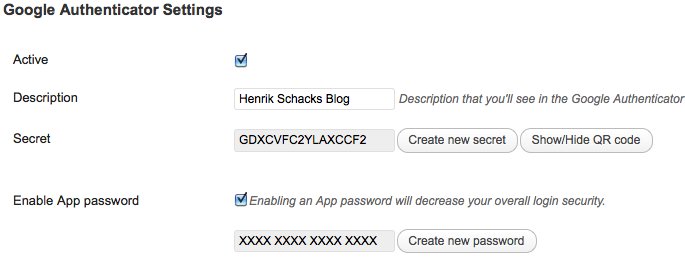 2. Click “Show/Hidden QR Code” to display the QR code
 Use the Google Authenticator App on your phone to scan the QR code. After scanning, be sure to click“Update profile”, otherwise the setting will not take effect. 3. Set an application-specific password. If you use WordPress mobile App or Windows Live Writer to manage the website through XMLRPC, then you need to set an application-specific password. Because these client programs do not support two-step verification.